


From Dream to Reality: Your Complete Home Sauna Installation Guide
Why a Home Sauna Is the Wellness Upgrade You Didn't Know You Needed
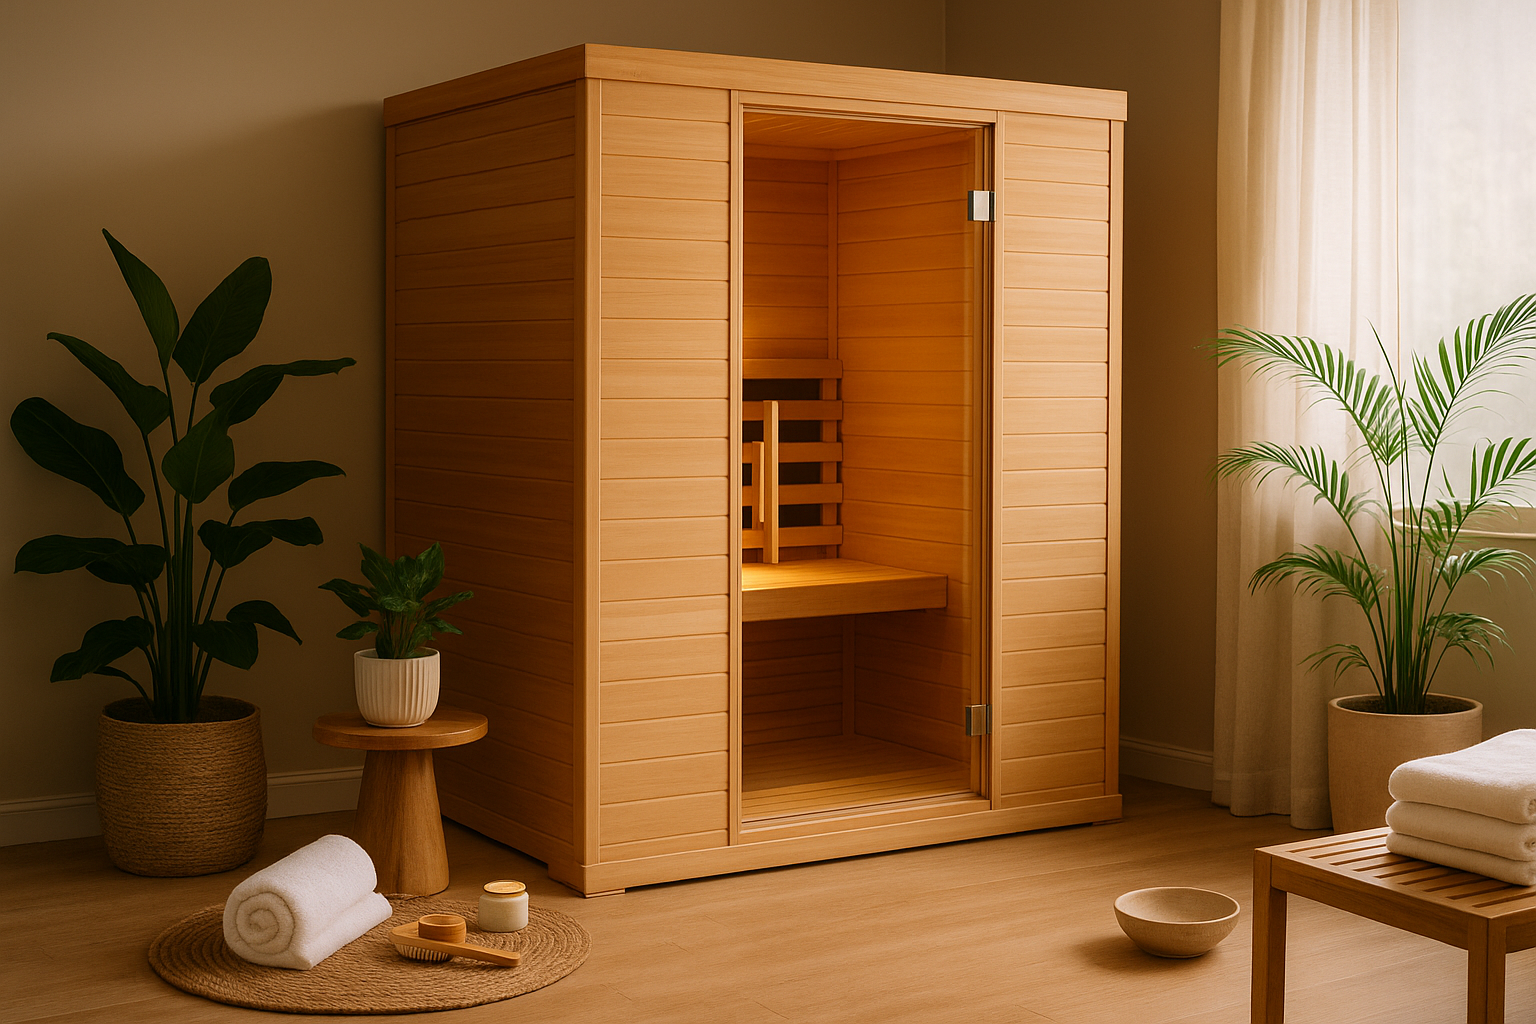
Imagine coming home from a long day and stepping into your own personal sauna—no appointments, no shared spaces, just uninterrupted relaxation. For health-conscious homeowners, a home sauna isn’t just a luxury—it’s a powerful wellness tool. But what does it actually take to install one? In this guide, we’ll walk you through everything you need to know about sauna installation, from choosing the right model to prepping your space and handling the build.
Whether you’re planning an indoor sanctuary or an outdoor escape, we’ll help you make informed decisions, avoid common pitfalls, and create a rejuvenating space you’ll enjoy for years.

What to Know Before You Install a Sauna
What Type of Sauna Is Best for Home Installation?
- Traditional Saunas: Use electric or wood-burning heaters with stones that can be splashed with water for steam. These are great for those who love a steamy, high-temperature environment.
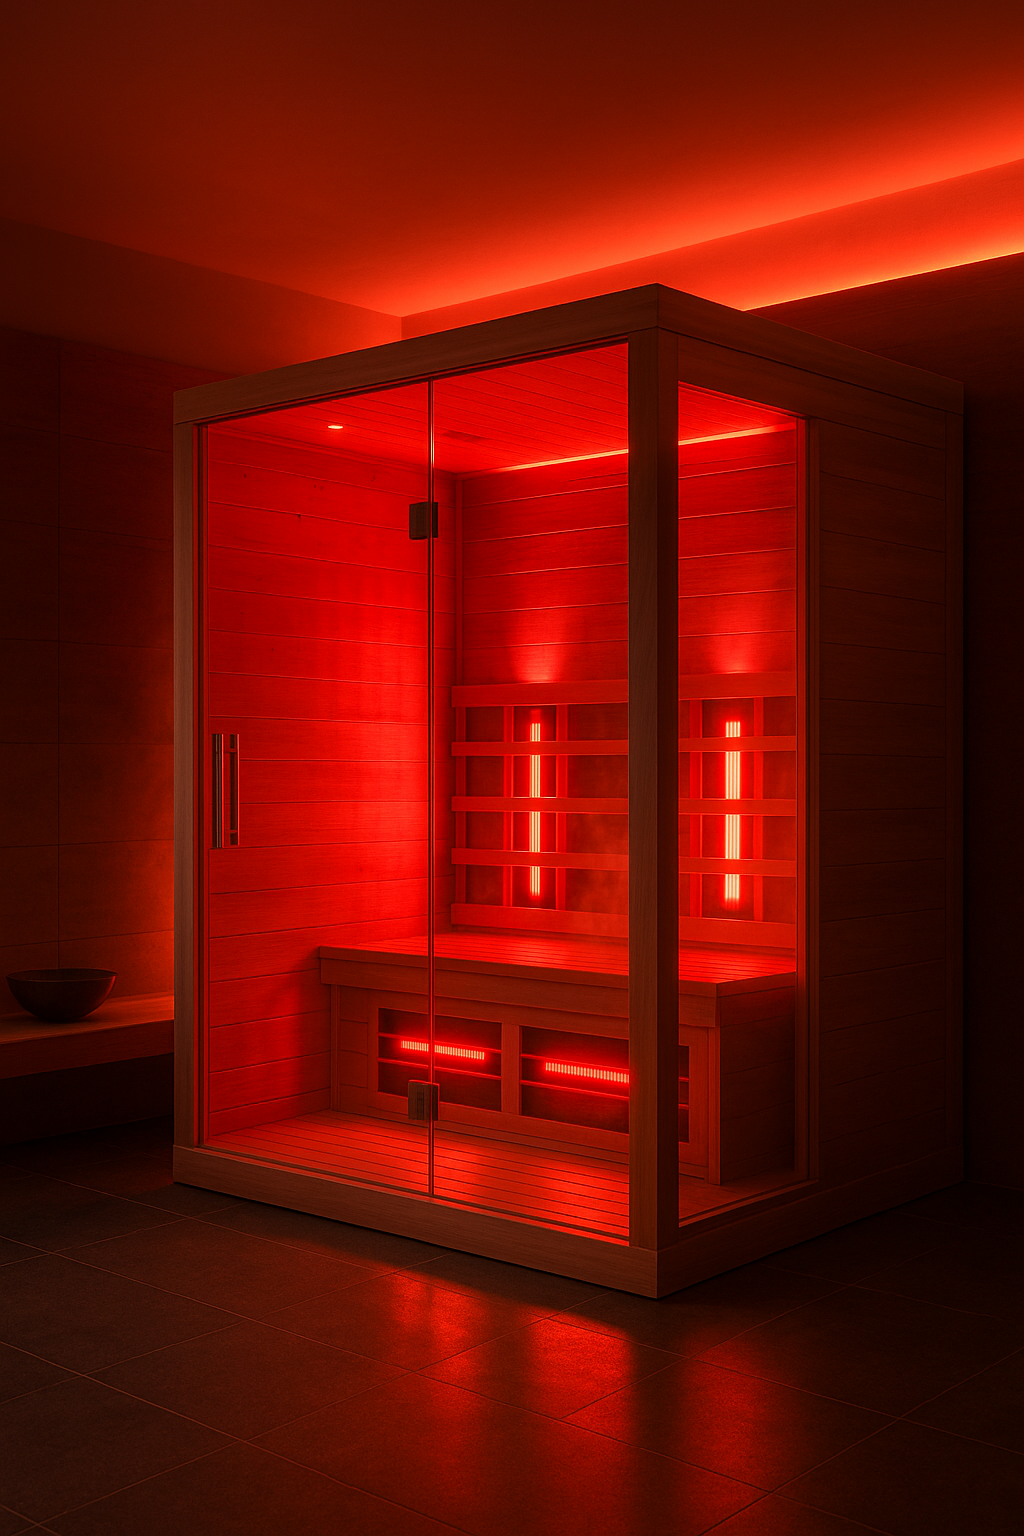
- Infrared Saunas: Use infrared panels to warm the body directly, offering lower temperatures but deep tissue penetration. Perfect for those who want a gentler experience that’s easier on the lungs.
- Hybrid Saunas: Combine traditional heat and infrared therapy. Great for families or individuals wanting multiple benefits from a single unit.
🔹 Pro Tip: If you're unsure what type suits you best, take the Sauna Quiz to find your ideal match.
Indoor vs Outdoor Sauna Installation
- Typically easier to install in basements, bathrooms, or spare rooms
- Protected from weather, reducing long-term maintenance
- Perfect for year-round usage regardless of external weather
- Offer a spa-like experience under the stars
- Require weatherproofing and a strong foundation
- Often come in rustic styles like barrel saunas, ideal for garden landscapes
Choosing the Right Location
Ask yourself:
- Is there adequate ventilation?
- Can the area handle moisture and heat?
- Do you have access to electrical or plumbing hookups?
Best Indoor Locations:
- Master bathrooms with spa-like finishes
- Home gyms for post-workout recovery
- Basements or spare rooms converted into wellness spaces
Best Outdoor Locations:
- Decks and patios for easy access
- Backyards with privacy fencing
- Near pools or hot tubs to create a cohesive spa retreat
🏠 Shop premium Indoor Saunas and Outdoor Saunas at Infinite Sauna.
Pre-Installation Checklist
- Measure the Space: Include height, width, and depth. Leave a 3–6 inch clearance around the unit for airflow.
- Flooring: Choose non-slip, waterproof surfaces like tile, vinyl, or sealed concrete.
- Ventilation: Ensure proper airflow to avoid mold or moisture buildup, especially in indoor settings.
- Electrical Supply: Most saunas require a dedicated 220V circuit. Always check the model’s power requirements.
- Local Regulations: Consult your municipality regarding permits, zoning restrictions, and safety codes.
- Moisture Barriers: Consider a vapor barrier or sealant for walls to prevent long-term damage in humid environments.
⚠️ For electric installations, always hire a licensed electrician. Reference CDC electrical safety tips.
Your Home, Your Healing Space
Installing a sauna isn’t just a renovation—it’s a wellness revolution. With the right model, smart planning, and thoughtful setup, your home can become your sanctuary. You’ll not only feel better physically but mentally and emotionally as well.
So take the next step and explore:
Your body will thank you—and so will your future self.
Step-by-Step Sauna Installation Guide
Step 1: Choose Your Sauna Model
Browse by size, style, and heating method. Consider:
- 1-person infrared cabin for solo users
- 4-person traditional barrel sauna for socializing
- Full-spectrum indoor hybrid units for high-end wellness rooms
Explore:
Step 2: Prep the Site
- Clear the area of furniture, debris, and fragile items
- Lay down a moisture-resistant floor base if needed
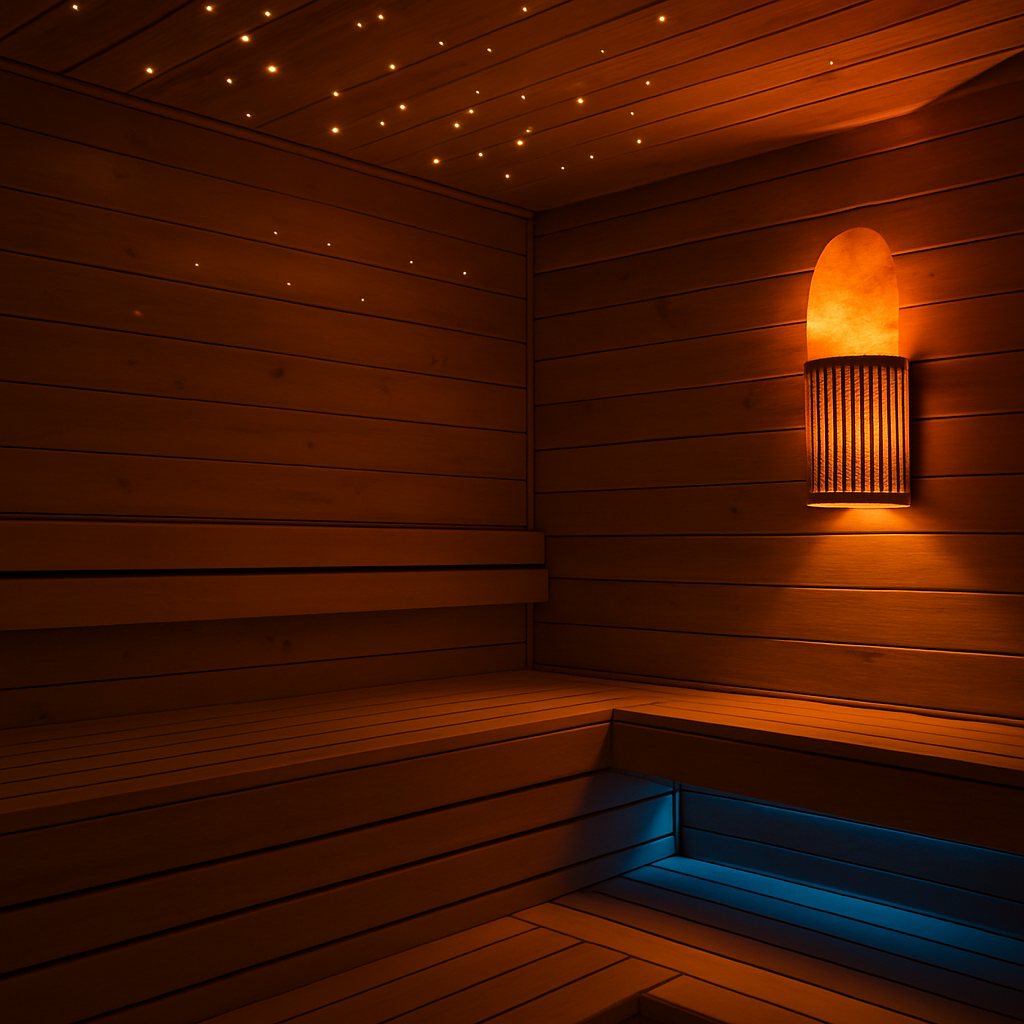
- Ensure proper lighting, especially in dim basements or outdoor areas
- Install your ventilation system, if required
Step 3: Assemble the Unit
- Follow manufacturer instructions carefully
- Start with the base, then walls, then roof
- Use a level to ensure panels align properly
- Secure joints tightly for maximum insulation
- Use silicone caulk on interior seams if recommended
Step 4: Connect the Power Source
- Don’t plug in until full assembly is complete
- If hardwiring is required, contact a licensed electrician
- Verify grounding and GFCI protection for safety
- Test each heater component for function before first full use
Step 5: Test and Enjoy
- Run the sauna at full temperature for 30–45 minutes
- Monitor for air leaks, smells, or overheating
- Wipe surfaces after use to prevent stains
- Let the sauna cool completely before your first full session
Common Sauna Installation Questions (and Straight Answers)
How Much Does It Cost to Install a Sauna?
- Infrared Saunas: $1,500–$4,000 depending on size and features
- Traditional Saunas: $2,500–$7,000 including heater and wood paneling
- Custom Outdoor Builds: $8,000–$15,000+ depending on materials and design
How Long Does It Take to Install?
- Prebuilt kits: 2–3 hours with basic tools
- Custom setups: 1–3 days, especially for outdoor models or spa builds
Do I Need a Permit?
- Usually required for outdoor builds
- May be needed for electrical installations or venting modifications
- Check with HOA guidelines if you live in a private community
How Much Power Does a Sauna Use?
- 1-person infrared: ~1.5 kWh/session
- 3–4 person traditional: ~4–6 kWh/session
- Calculate usage using our Sauna Energy Calculator
Benefits of Installing a Sauna at Home
- Convenience: No need to travel to a spa or gym
- Stress Relief: Endorphin release and muscle relaxation after long days
- Cardiovascular Health: Mimics aerobic activity, improving heart function
- Skin Purification: Opens pores and promotes collagen regeneration
- Detoxification: Encourages sweat-driven toxin elimination
- Calorie Burn: Passive heat exposure burns calories—ideal for those with joint concerns
Maintenance Tips After Installation
- Weekly Cleaning: Wipe benches, handles, and floors with non-toxic sauna cleaner
- Monthly Inspections: Check wiring, bolts, and any signs of wear
- Air Drying: Always leave the door open after a session
- Stone Replacement: Every 12–18 months for traditional saunas
- Infrared Panel Care: Dust and inspect regularly for maximum performance
Burn Calories While You Relax
Use Infinite Sauna’s Calorie Calculator to see how much energy you burn with each session.
A 30-minute infrared session can burn up to 300 calories—that’s the equivalent of a light jog or yoga session!
Leave a comment
This site is protected by hCaptcha and the hCaptcha Privacy Policy and Terms of Service apply.